1
Open your event in Event Management.
Event Management opens with your event tabs and guest tools.

Seating gives organizers a visual table layout for guest placement. You can manage table settings, open guest assignments, and use auto-assign tools from one workspace. Locked seats are enforced in the assignment flow.
Keep table assignments clear and up to date so arrivals and check-in run smoothly.
Event Management opens with your event tabs and guest tools.
The layout canvas opens with table controls, Guests, and Actions.
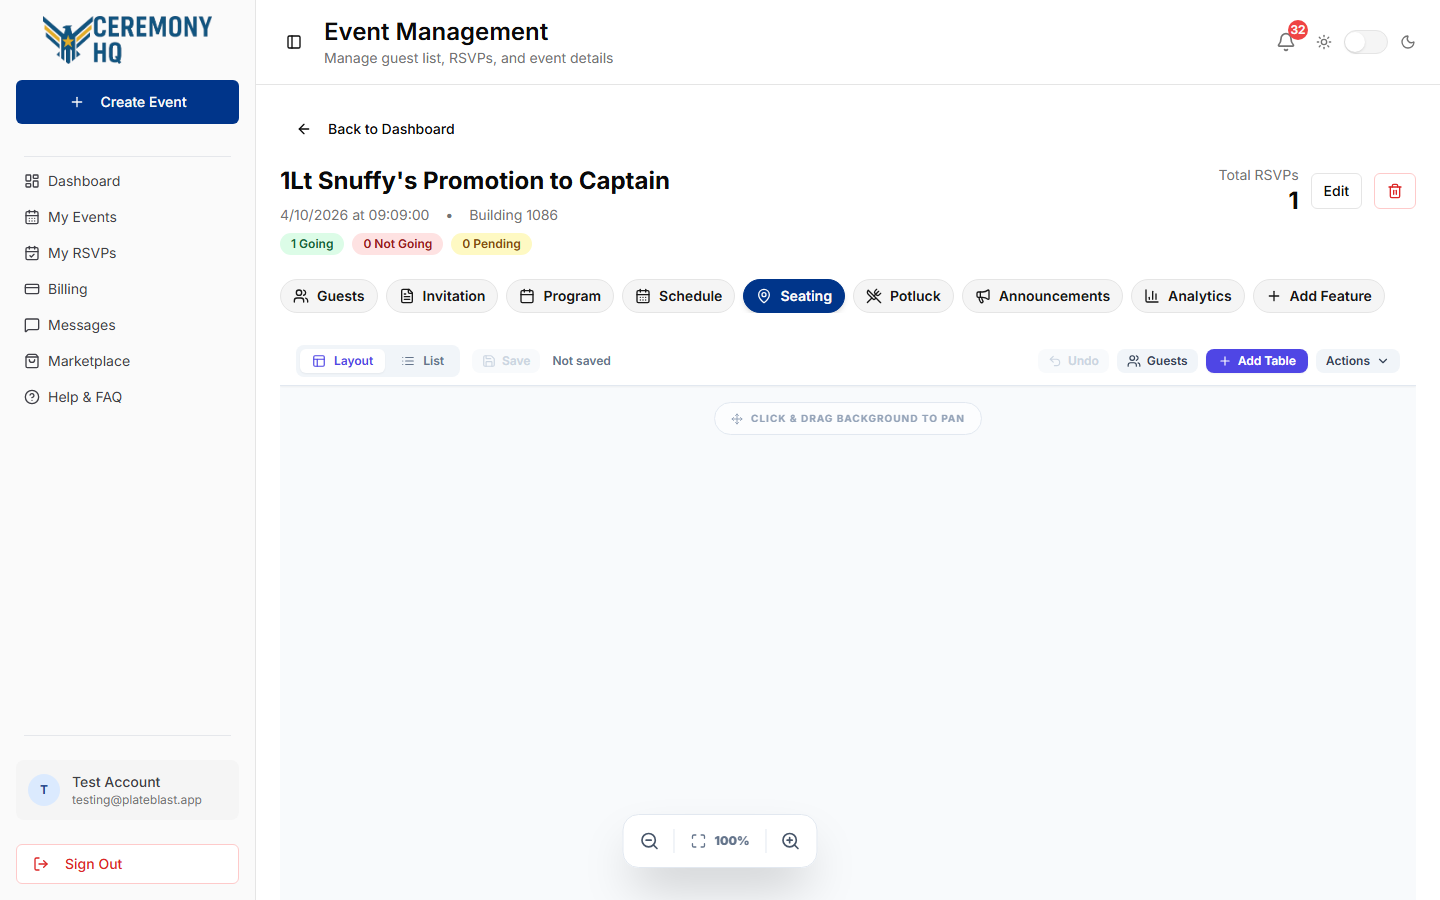
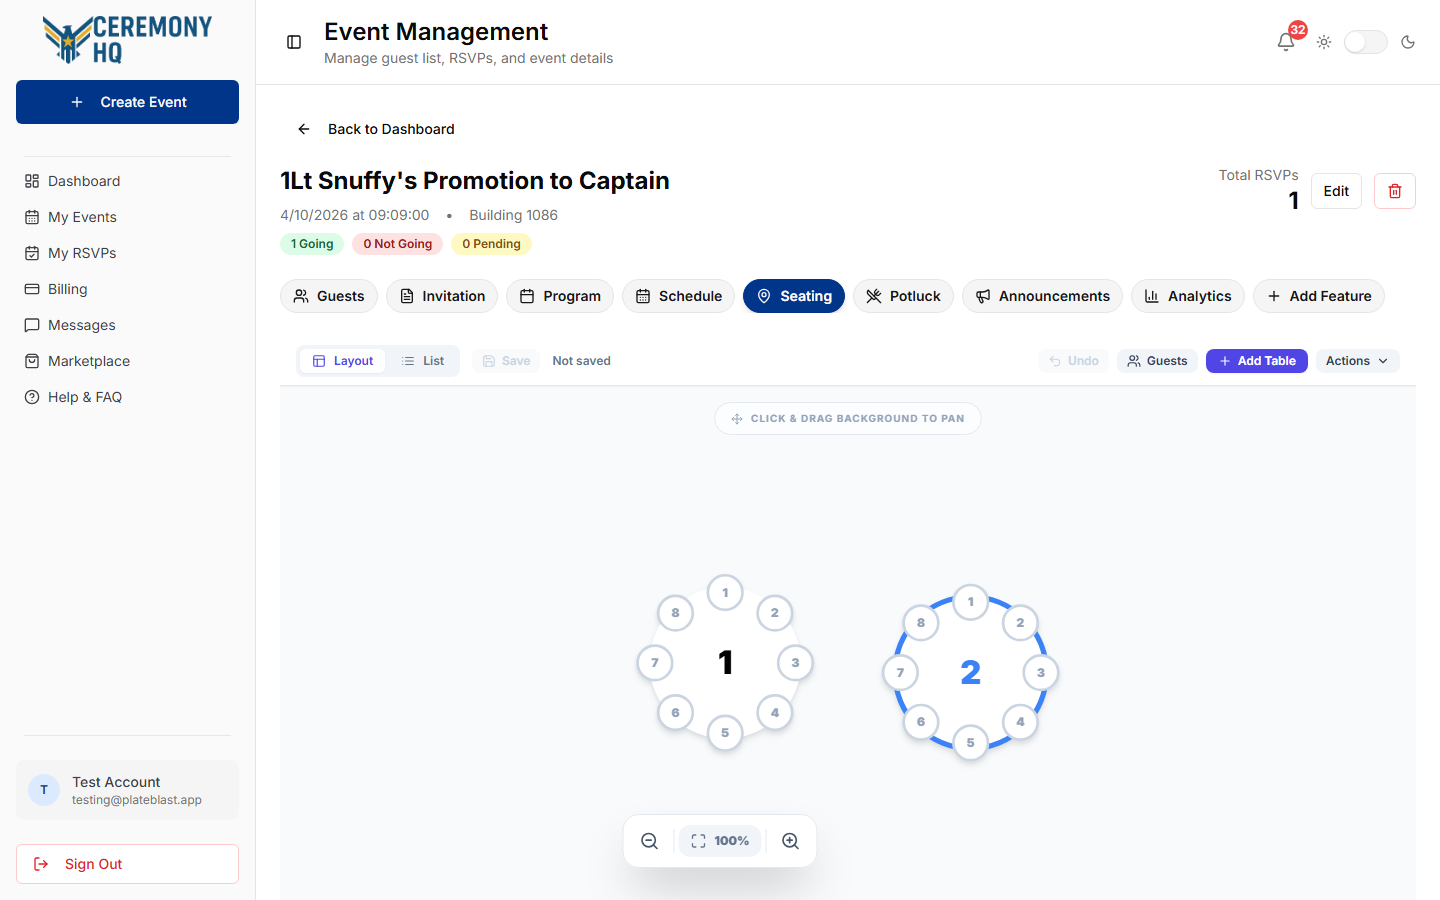
Table Settings lets you update label, shape, seat count, and seat locks.
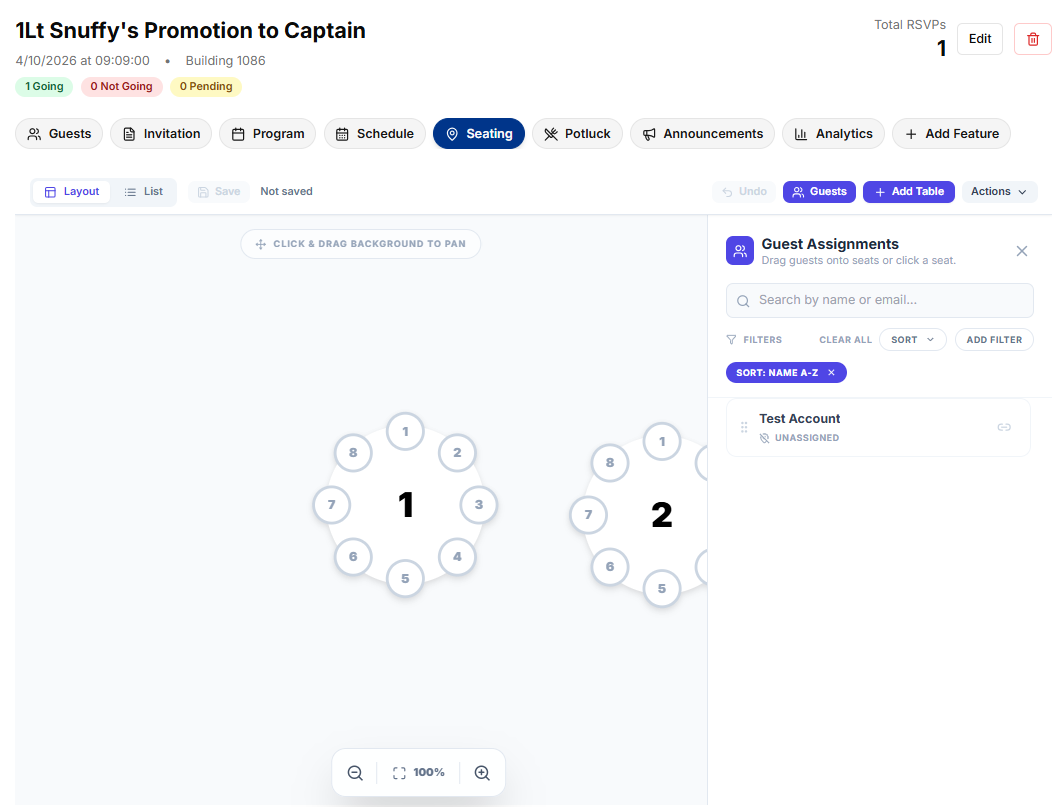
Guest Assignments shows unassigned guests and filtering controls.
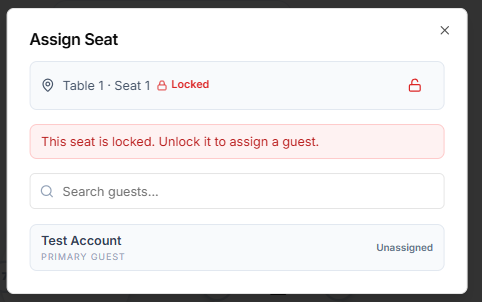
First click a table so Table Settings opens on the right, then click Lock All Seats, click Guests at the top of the seating area, and click any locked seat number; this opens the Assign Seat window and explains why that seat cannot be assigned yet.
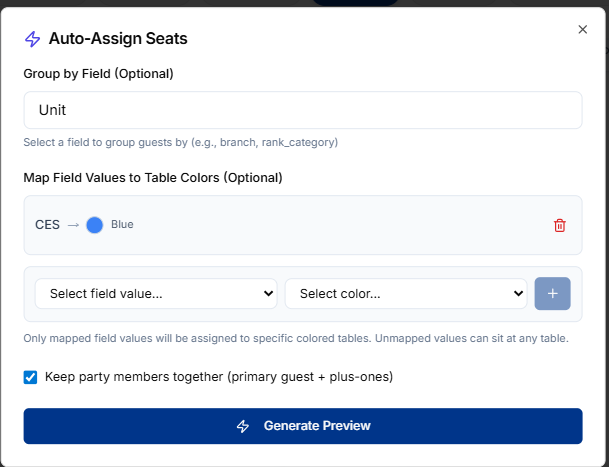
In the Seating toolbar, click Actions in the top-right corner and select Auto-Assign Seats to open the setup window where you can group guests, map colors, and select Generate Preview before applying anything.