1
Open the Schedule tab from Event Management.
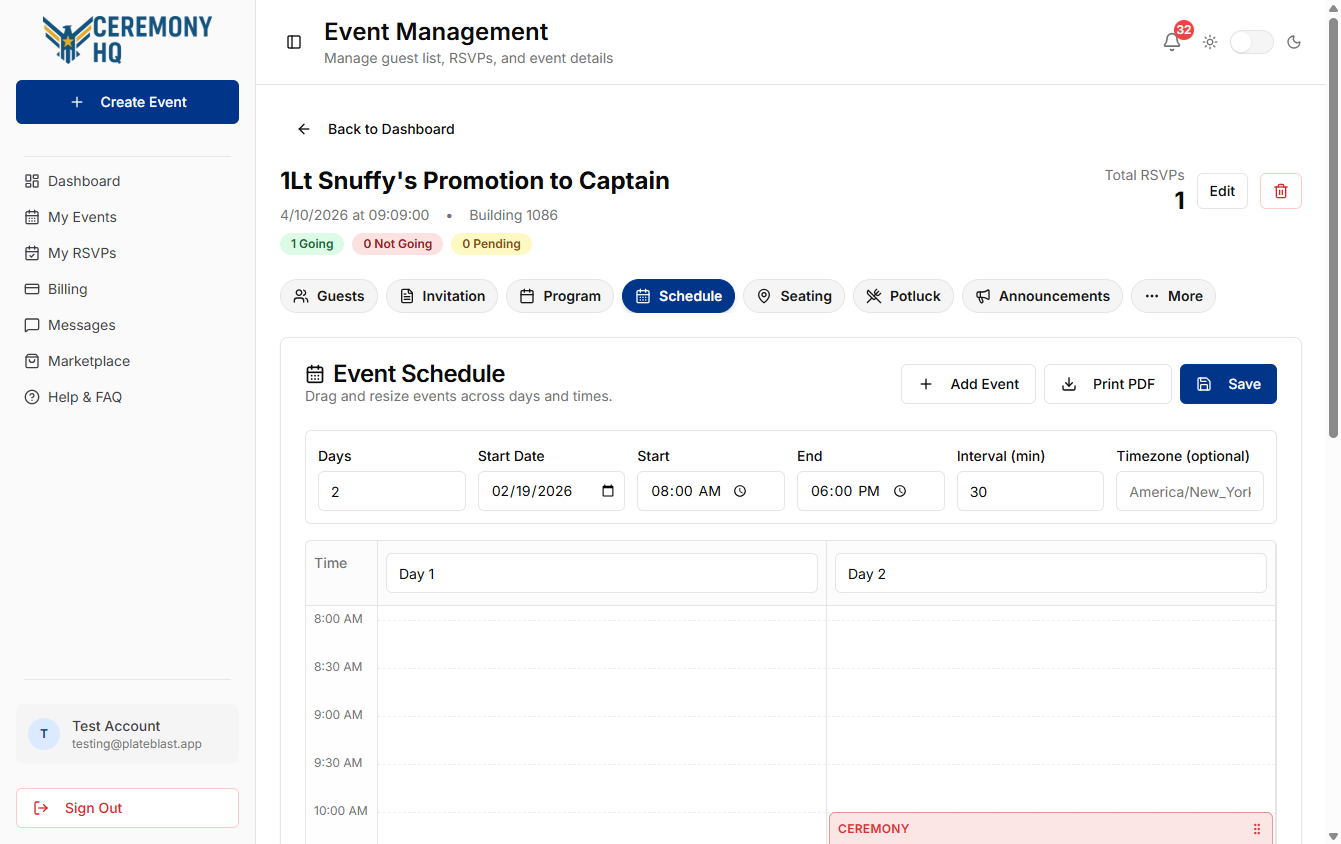
Schedule opens the timeline board with day settings, time controls, and existing event blocks.

Event Schedule gives organizers a timeline board for managing multi-day event items, time blocks, and day labels. You can review the run-of-show, adjust timing, and optionally let guests RSVP to individual activities, with attendance and capacity tracked per person.
Keep ceremony timing and sequence organized in a dedicated schedule workspace.
Schedule opens the timeline board with day settings, time controls, and existing event blocks.
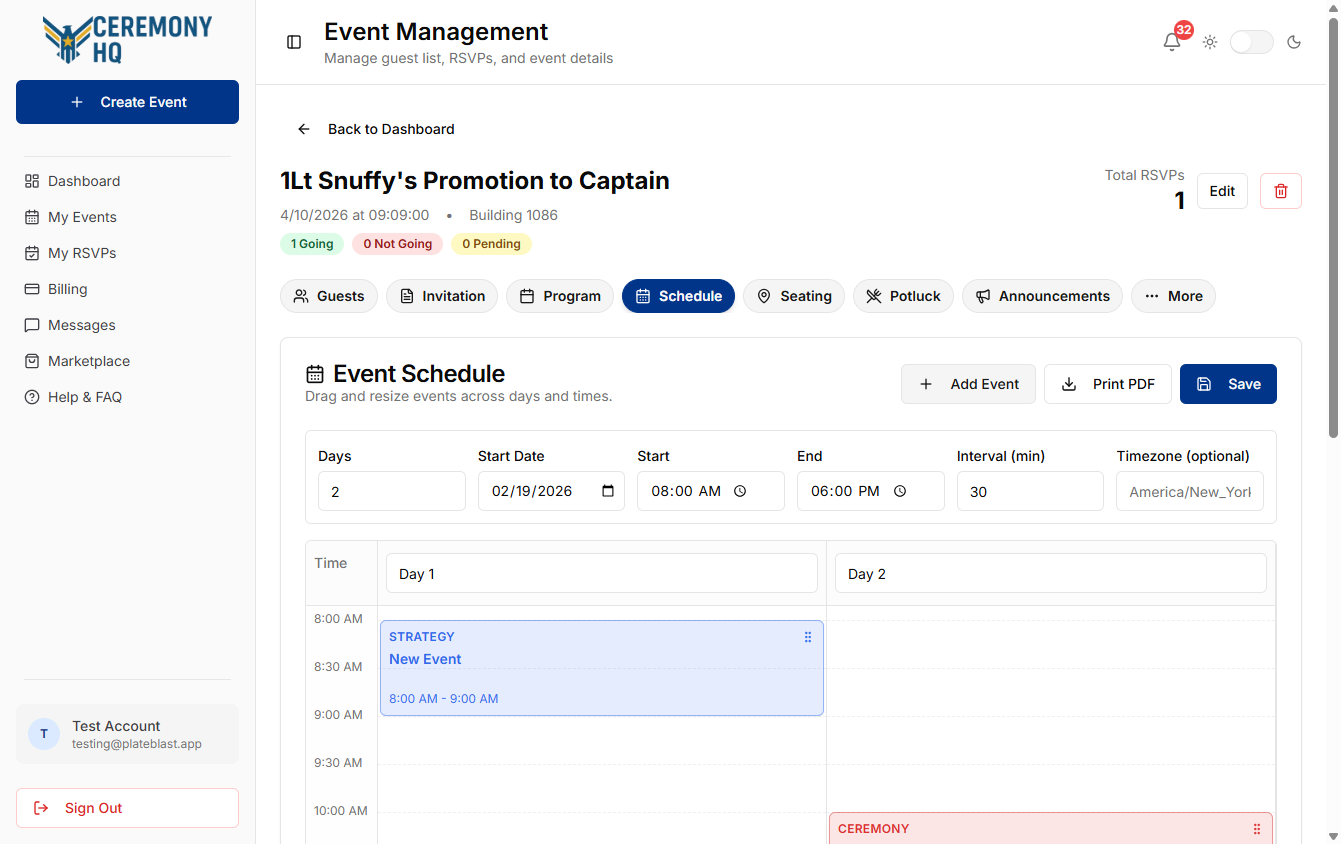
The board shows day columns, time intervals, and scheduled items so you can validate timing at a glance.
Add Event places a new item on the board so you can assign timing and then save when you are ready.
Each schedule item can optionally accept its own guest registrations. These responses apply only to that activity and are separate from the RSVP to the overall event. Registering for an activity does not change the guest's overall event RSVP.
A guest can RSVP Attending to the main event, then select Going for the Reception and Not Going for the Golf Outing. Each activity stays part of the parent event and uses its existing guest list and invitation-party relationships.
Open the Schedule tab in Event Management, add or select a schedule item, and use its Event Details panel.
When registration is disabled, guests see the normal schedule information without registration controls. Disabling registration on an existing activity retains its saved responses; re-enabling it restores them.
Sign in with the account linked to your event invitation and open the activity from the event schedule. Activities with registration enabled show Who from your party is attending?
Party members can make different choices for the same activity. For example, Matt can select Going for the Reception while Nichole selects Not Going. If both select Going, they count as two attendees and use two capacity spots.
An unnamed +1 appears using their existing guest display name. They have their own response and capacity spot; you do not need to create another guest record. You can respond only for yourself and guests you are already authorized to manage through your invitation.
Capacity counts individual people who have saved Going, rather than invitation parties. The activity shows how many spots are filled and, when a limit is set, how many remain.
If only one spot remains, a party cannot save two new Going responses. When a submission exceeds capacity, none of its responses are saved. Choose fewer guests and try again. Availability is checked when you save, so another guest may take a spot while you are choosing responses.
When an activity is full, existing Going registrations keep their spots. If changes are allowed, changing a response to Not Going frees a spot. Organizers cannot reduce capacity below the number already registered Going.
If the organizer turns off response changes, each person's first saved response is locked. Party members who have not yet responded can still submit their own first response.
Select a saved activity in the organizer's schedule to see its Going count, capacity, and remaining spots. Expand View registered guests to see only the people who selected Going for that specific activity, along with their invitation-party context. Guests who selected Not Going or have not responded are excluded.
Individual attendee names require guest-list permission in addition to access to the schedule. An organizer without guest-list permission can see the counts but cannot view the attendee list.
Editing a retained +1 preserves their activity registrations. Removing a guest from the event or deleting a schedule item removes its dependent registrations.